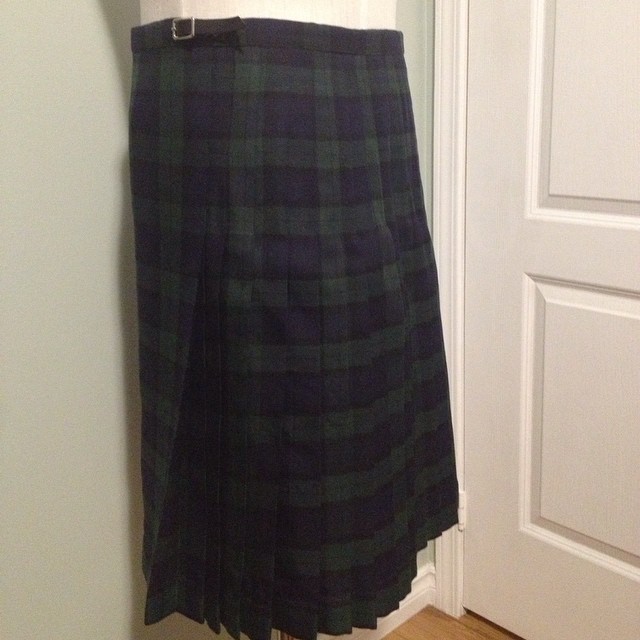
You want a custom kilt that you don’t have to pleat every single time you use it, or you do highland dancing? Have a little bit of sewing know-how?
This is the tutorial for you.
Materials
Tartan Fabric – how much you need depends on how deep your pleats are and your hip measurement (see below)
Lining Fabric (like cotton duck or medium weight canvas)
Interfacing (for waistband and anywhere you put button holes/straps)
Good scissors
Thread
Needle (sewing machine works too)
Iron (steam iron is best)
Pins (bent quilter’s pins are best)
Ruler/Measuring Tape
A piece of card
Patience
Terms
Sett – the pattern that repeats on tartan
Pleat – the nice crisp folds of a kilt
Apron – the unpleated front portion of the kilt. Side seam to side seam, there is both an inner and outer apron when the kilt is worn. These are the outside edges of the kilt.
1. Get your measurements. You need natural waist circumference, seat (circumference of hips at widest point) and length (usually natural waist to patella).
2. Calculate how much fabric you need.
A kilt pleat is usually made up of a full sett width, with about 1″ of the pleat exposed. You can pleat “to the sett” and duplicate the pattern, or regimental “to the stripe”. If a sett was 6″ wide, one pleat would use 7″ of fabric to maintain the pattern. This is ultimately up to you though, and depends on how you want your kilt to look. Once you decide how deep you want your pleats, cut your piece of card to this width for a quick and easy guide if you do not have a broad clear ruler like me.
An example of how to calculate how much fabric you need:
Seat = 40″, therefore apron is 20″ wide.
-> 40″ : 20″ of apron x 2 (for inner and outer)
+ 140″ : 20″ of pleating x 7″ (6″ sett + 1″ exposed pleat)
->180″ : Total
+ 36″ : Add about 20% for centering pattern,additional pleating and cleanly finishing sides
->216″ : Full width of fabric needed for kilt
/ 72″ : Divide by the length of an yard accounting for doubled width of fabric (36″/yard x double width)
3 yards : Length of full width tartan required.
* Since most kilts are only 17-24″ long and the fabric is 56-72″ wide, you can join the two halves of your fabric to save on yardage and hide the seam in the pleating. For metric users, 12″ is close to 30cm, so you can use that to convert your measurements for fabric shopping. Or convert the above calculations into metric.
3. A good kilt starts with a sturdy lining. Cut some 10″ wide strips of your cotton canvas that are 2″ longer than half your seat measurement, and pin them around your person/properly sized dress form. Start at the side seam, join another piece when you get to the side seam and continue around so you have a piece for both the inner and outer aprons and the back.

Pin/mark any darts and shaping. You now have a custom lining that you can refer to and use in the kilt later. Stitch seams and darts in place, hem the bottom and give it a light press. Put lining aside for now.
4. Lay out your tartan and give it a good press to work out any wrinkles. If the selvage edges do not match or aren’t visually appealing, you will need to hem them to match.

Turn and press the edges nicely.
5. Hem by hand or via machine blind-stitching. You do not want the thread to show on the outside of the garment. Hem both selvage edges to match.
*Tip: if you want a fringed bottom/quicker project, run a line of very tight stitches where you want your hem, then clip your fabric 1/2″ below your stitching lines and pull out the horizontal threads. If you do this, skip to step 7.
6. As you hem, leave a few inches unsewn on the ends that you will be joining together. This is so you can match the pattern and have a nice hem.
7. Once both sides are hemmed, line up your edges and give it all a good press folding your piece of fabric in half hemmed edge to hemmed edge. Cut to length, measuring from the hemmed edge toward the folded edge. As kilts tend to be in the 17″-24″, you should have enough fabric left at the fold to make your waistband and fringe.

8. Join your two pieces to complete the pattern and serge or bind the raw edge. This can be done separately or together. Iron the seam well and finish the loose part of your hem.

9. Turn over edge to make the side of the outer apron (front of your kilt ). For men, this is the left side of you piece, for women it is the right. Add a doubled up strip from your excess and attach it to the turned over fabric (not catching the outside layer); this is the fringe piece. Top stitch tightly through all layers close to the edge of the apron. Trim and fray the fringe piece as desired. You can hand-stitch the front hem down now or later, but make sure your lining is tucked in there whenever you stitch it down.

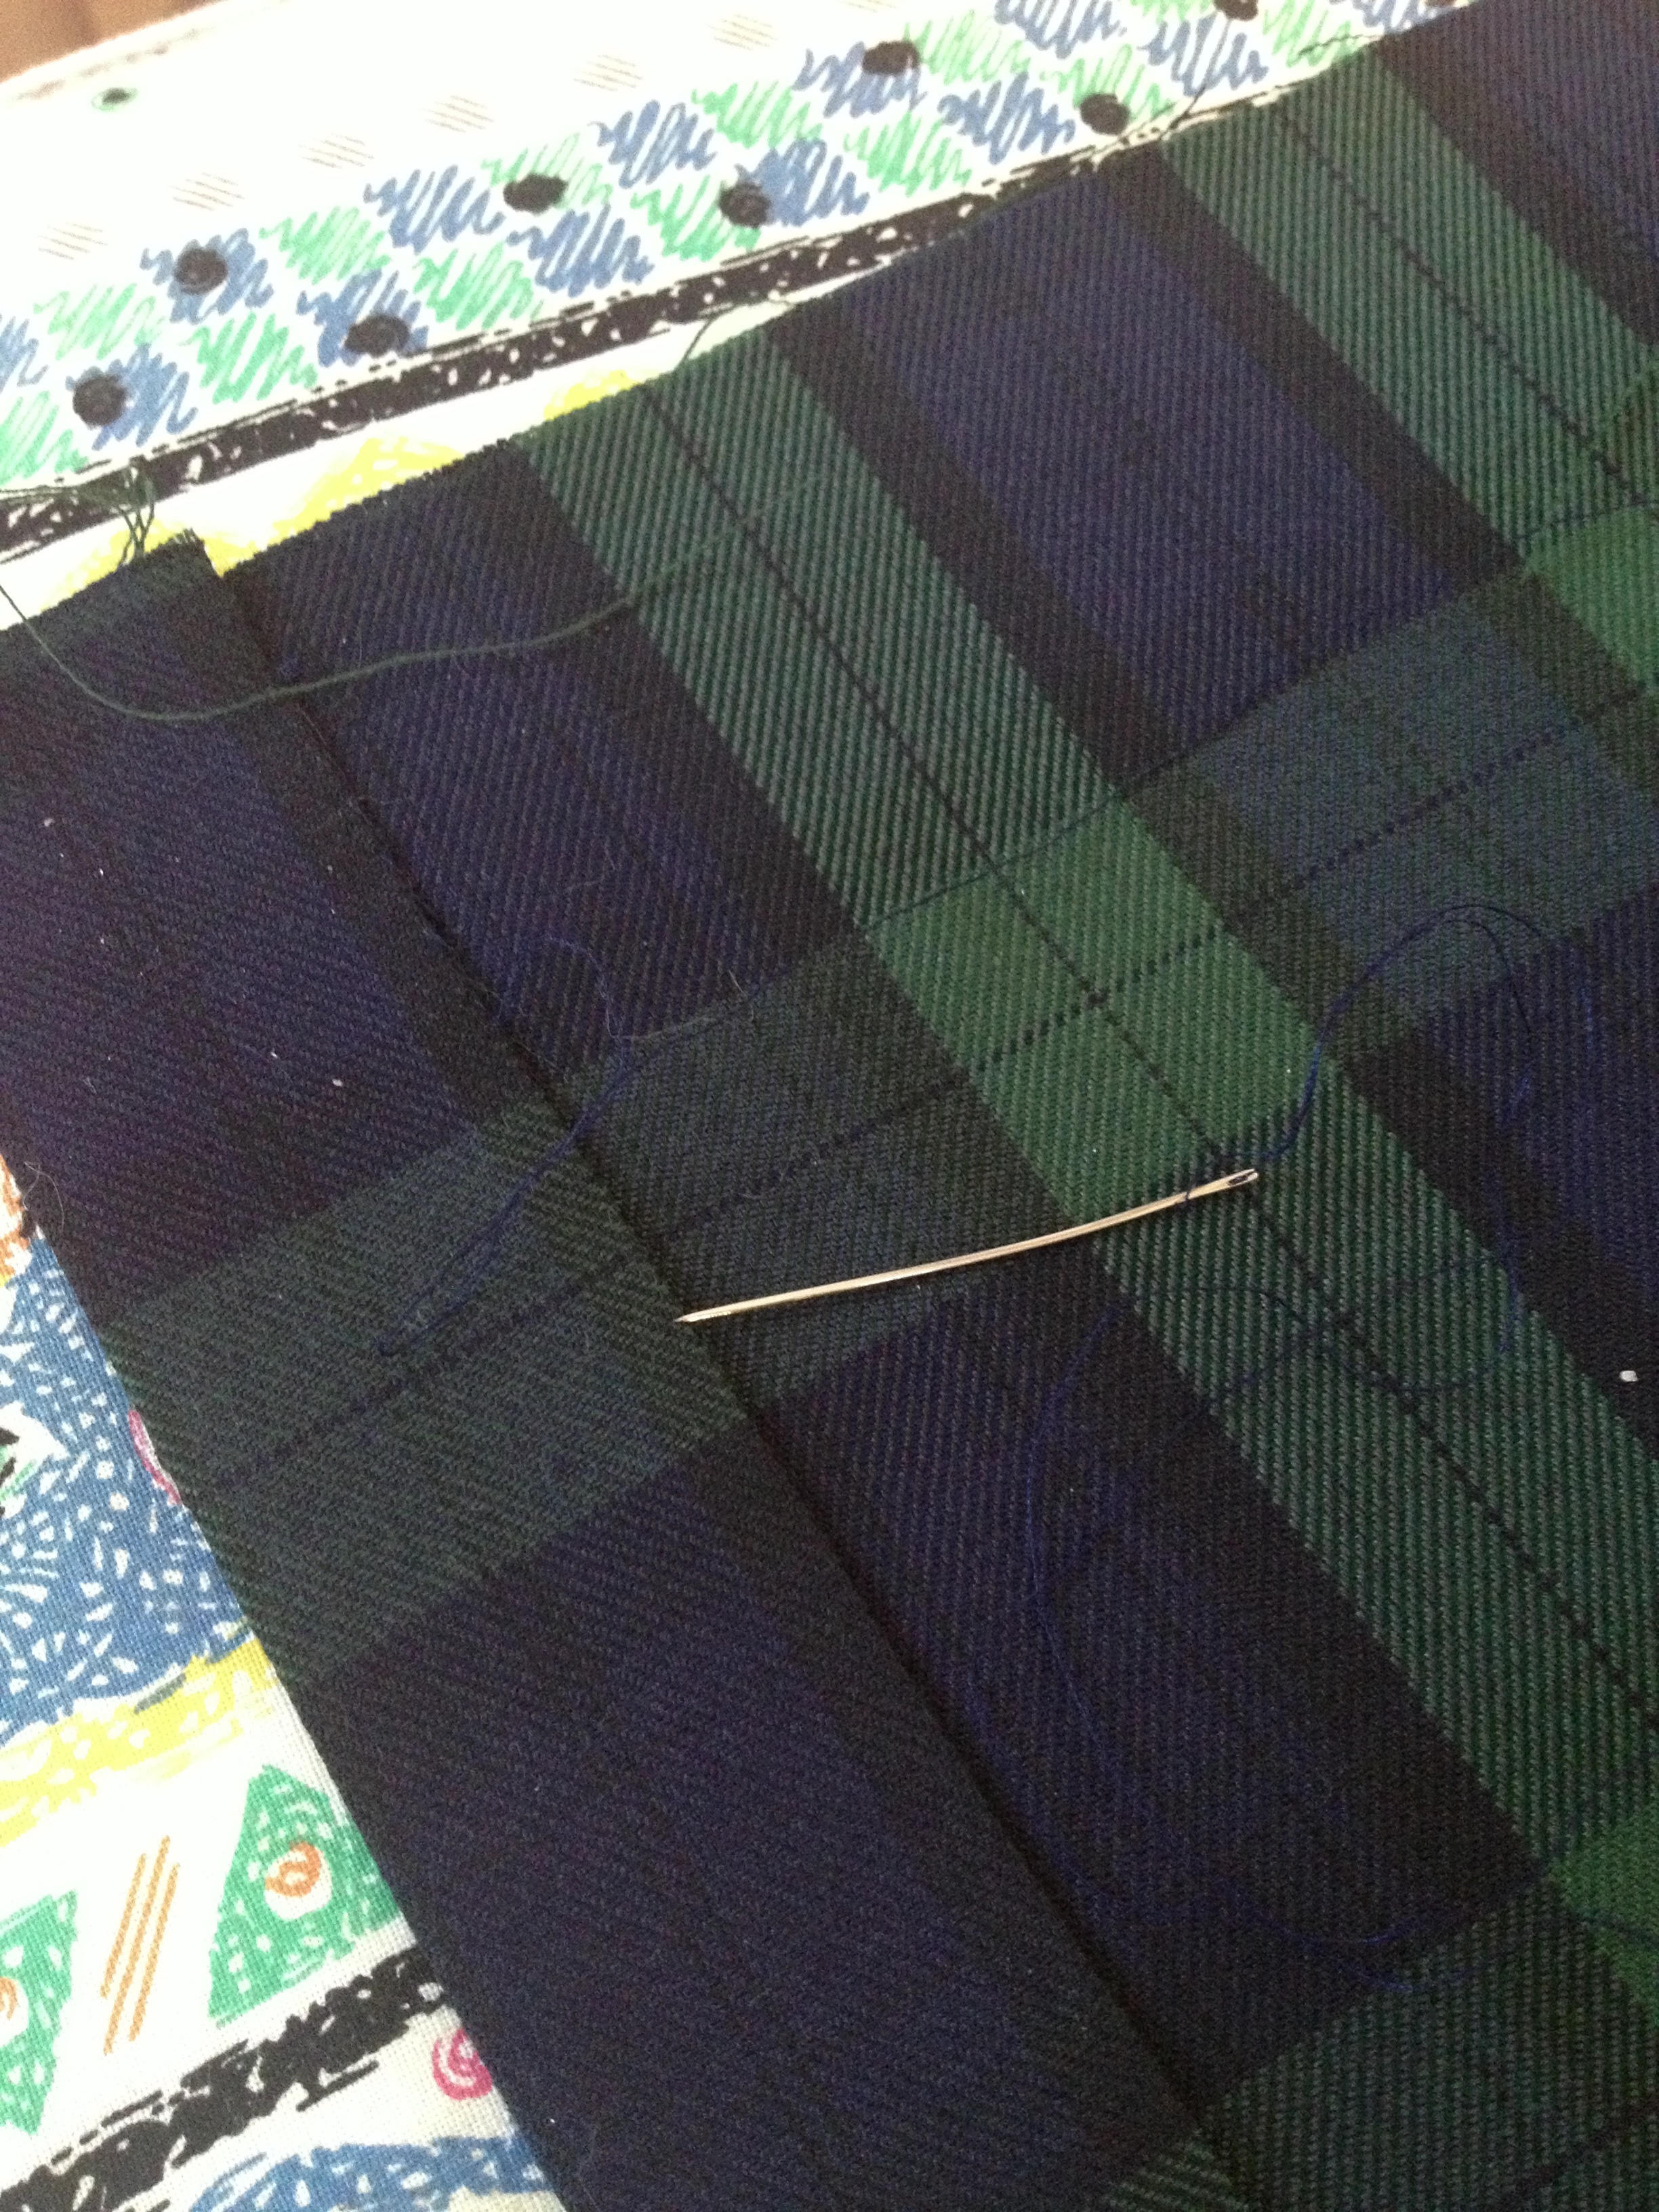
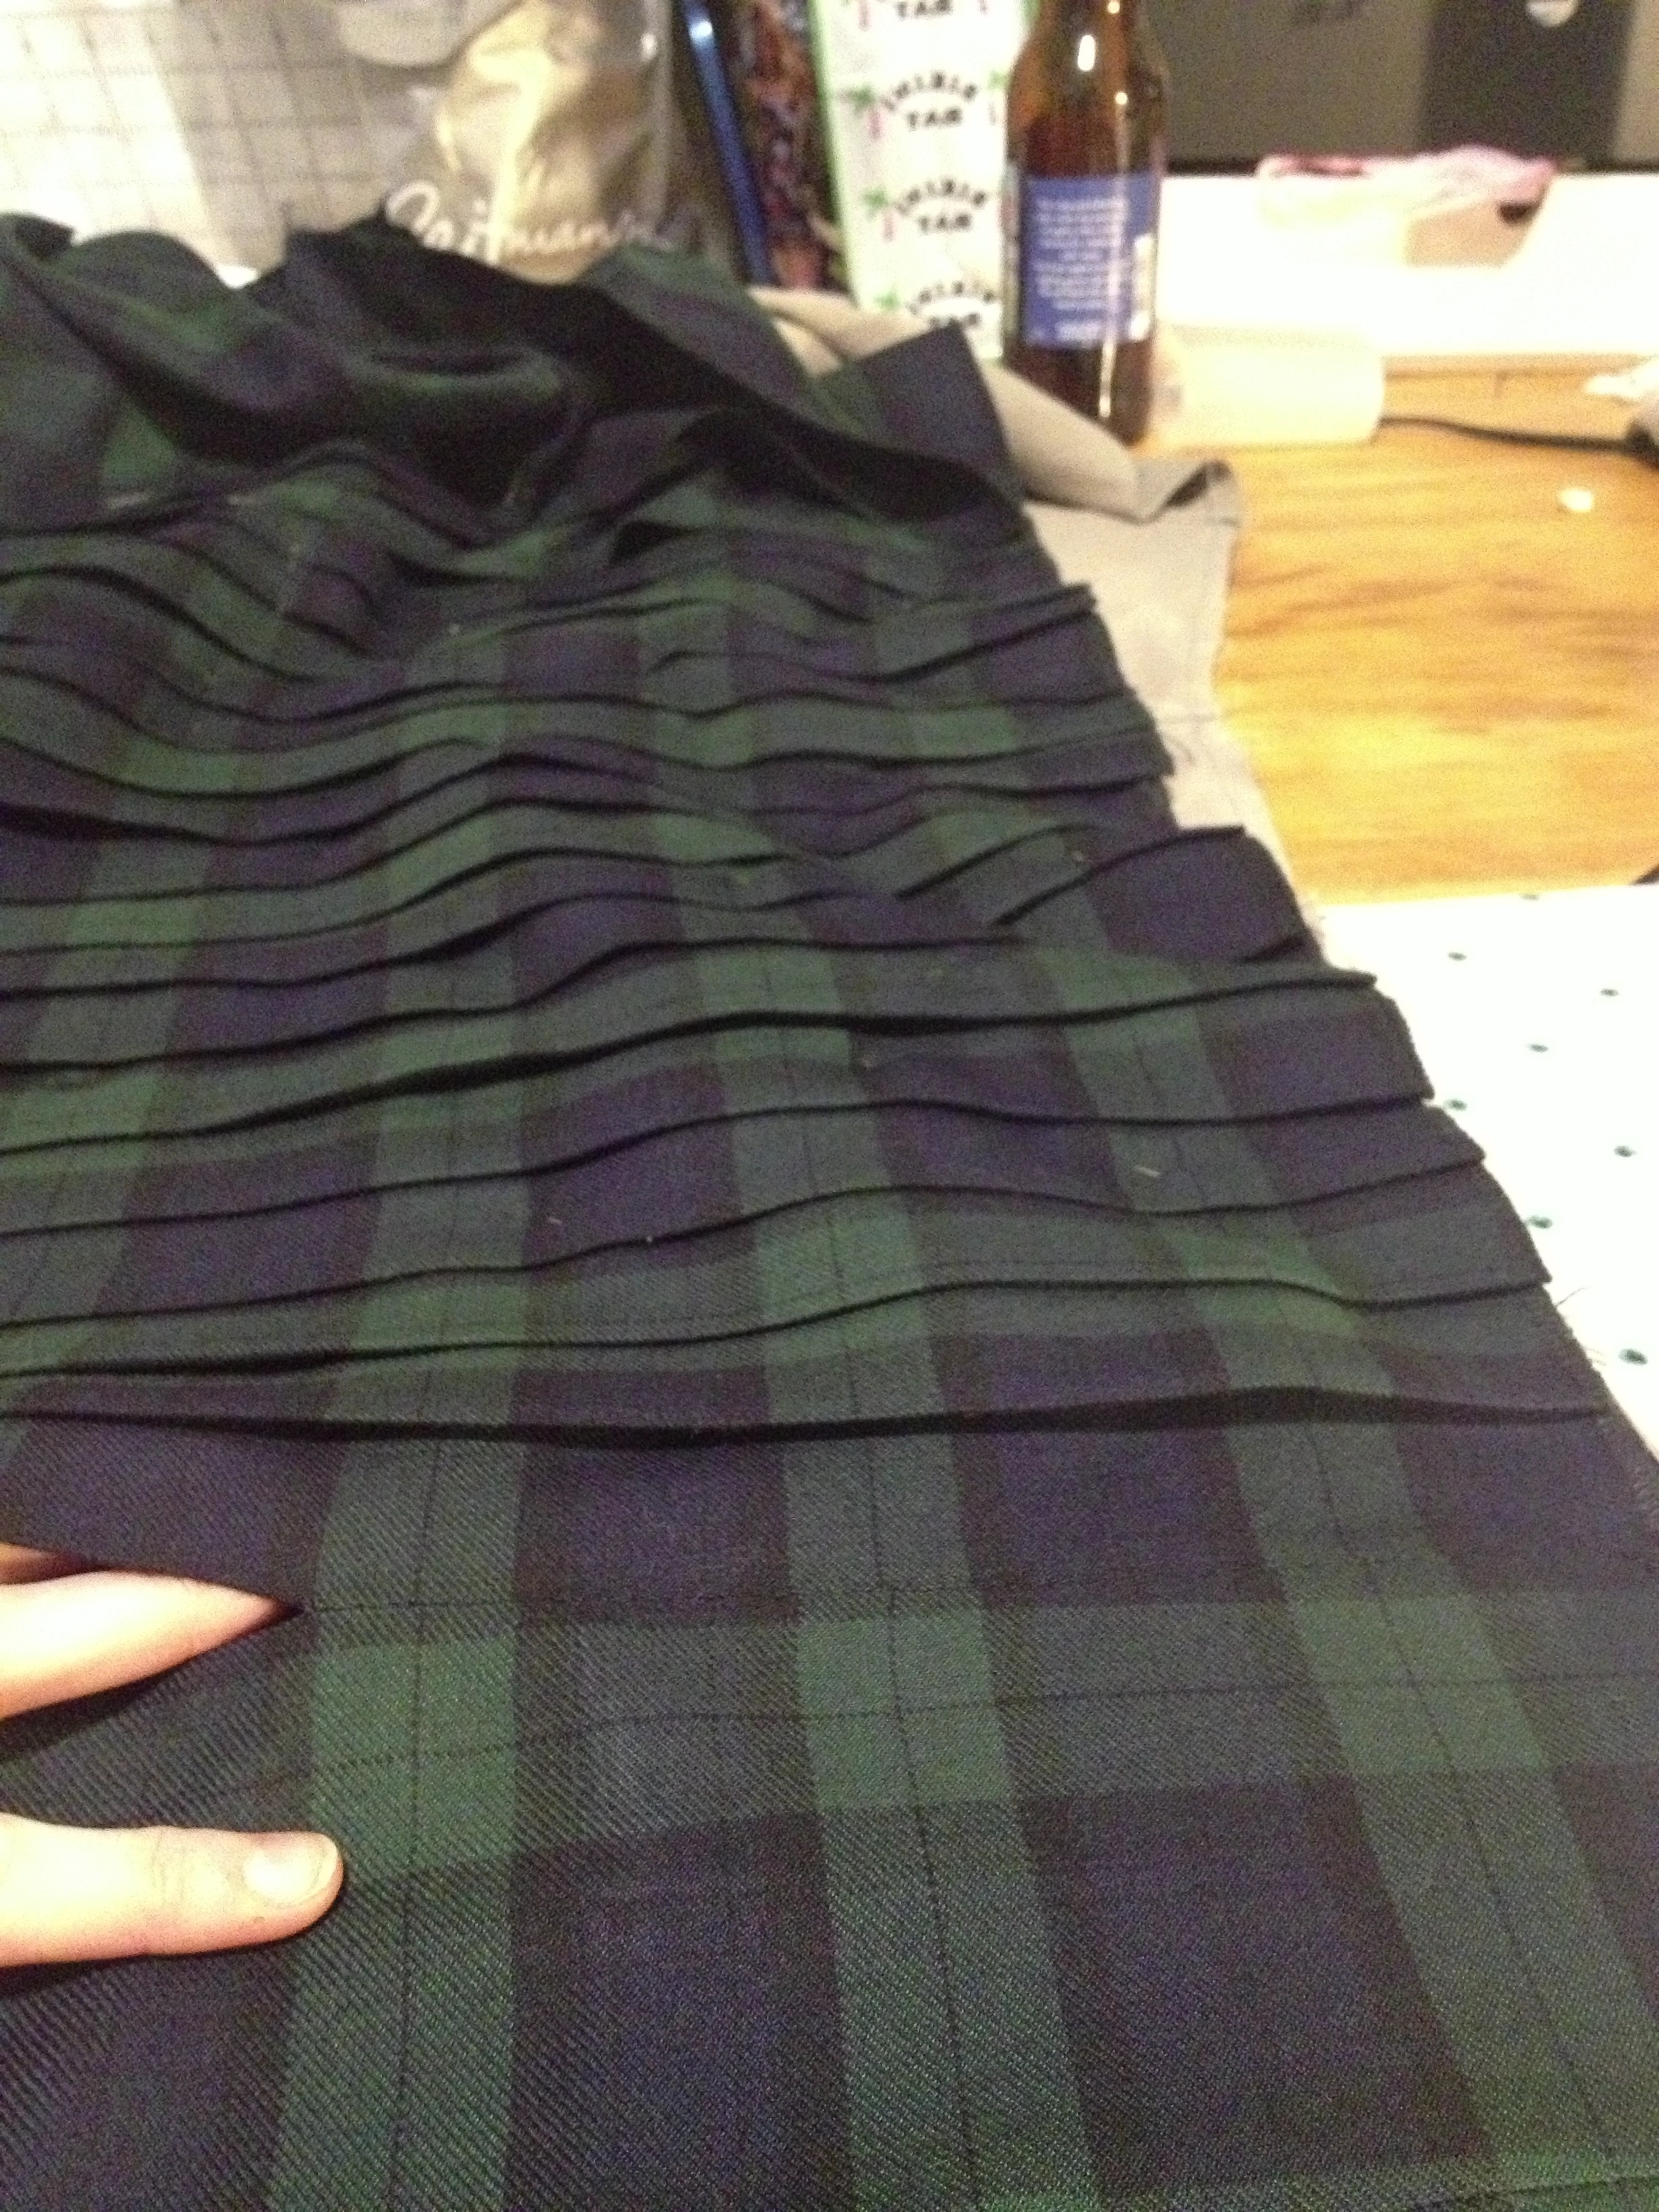
10. Refer to your lining piece to place and sew the darts on the outer apron. At the side seam, make two small pleats, a big pleat (double your standard pleat) and then start laying in your standard pleats. Dimensions are up to you and your tartan, but keep your pleats even. I like when it continues the pattern smoothly. Iron each pleat and use pins to stop it from splaying out everywhere.

These are the first few pleats. Two small stacked pleats at the side, a big one for movement and then into your standard pleats.
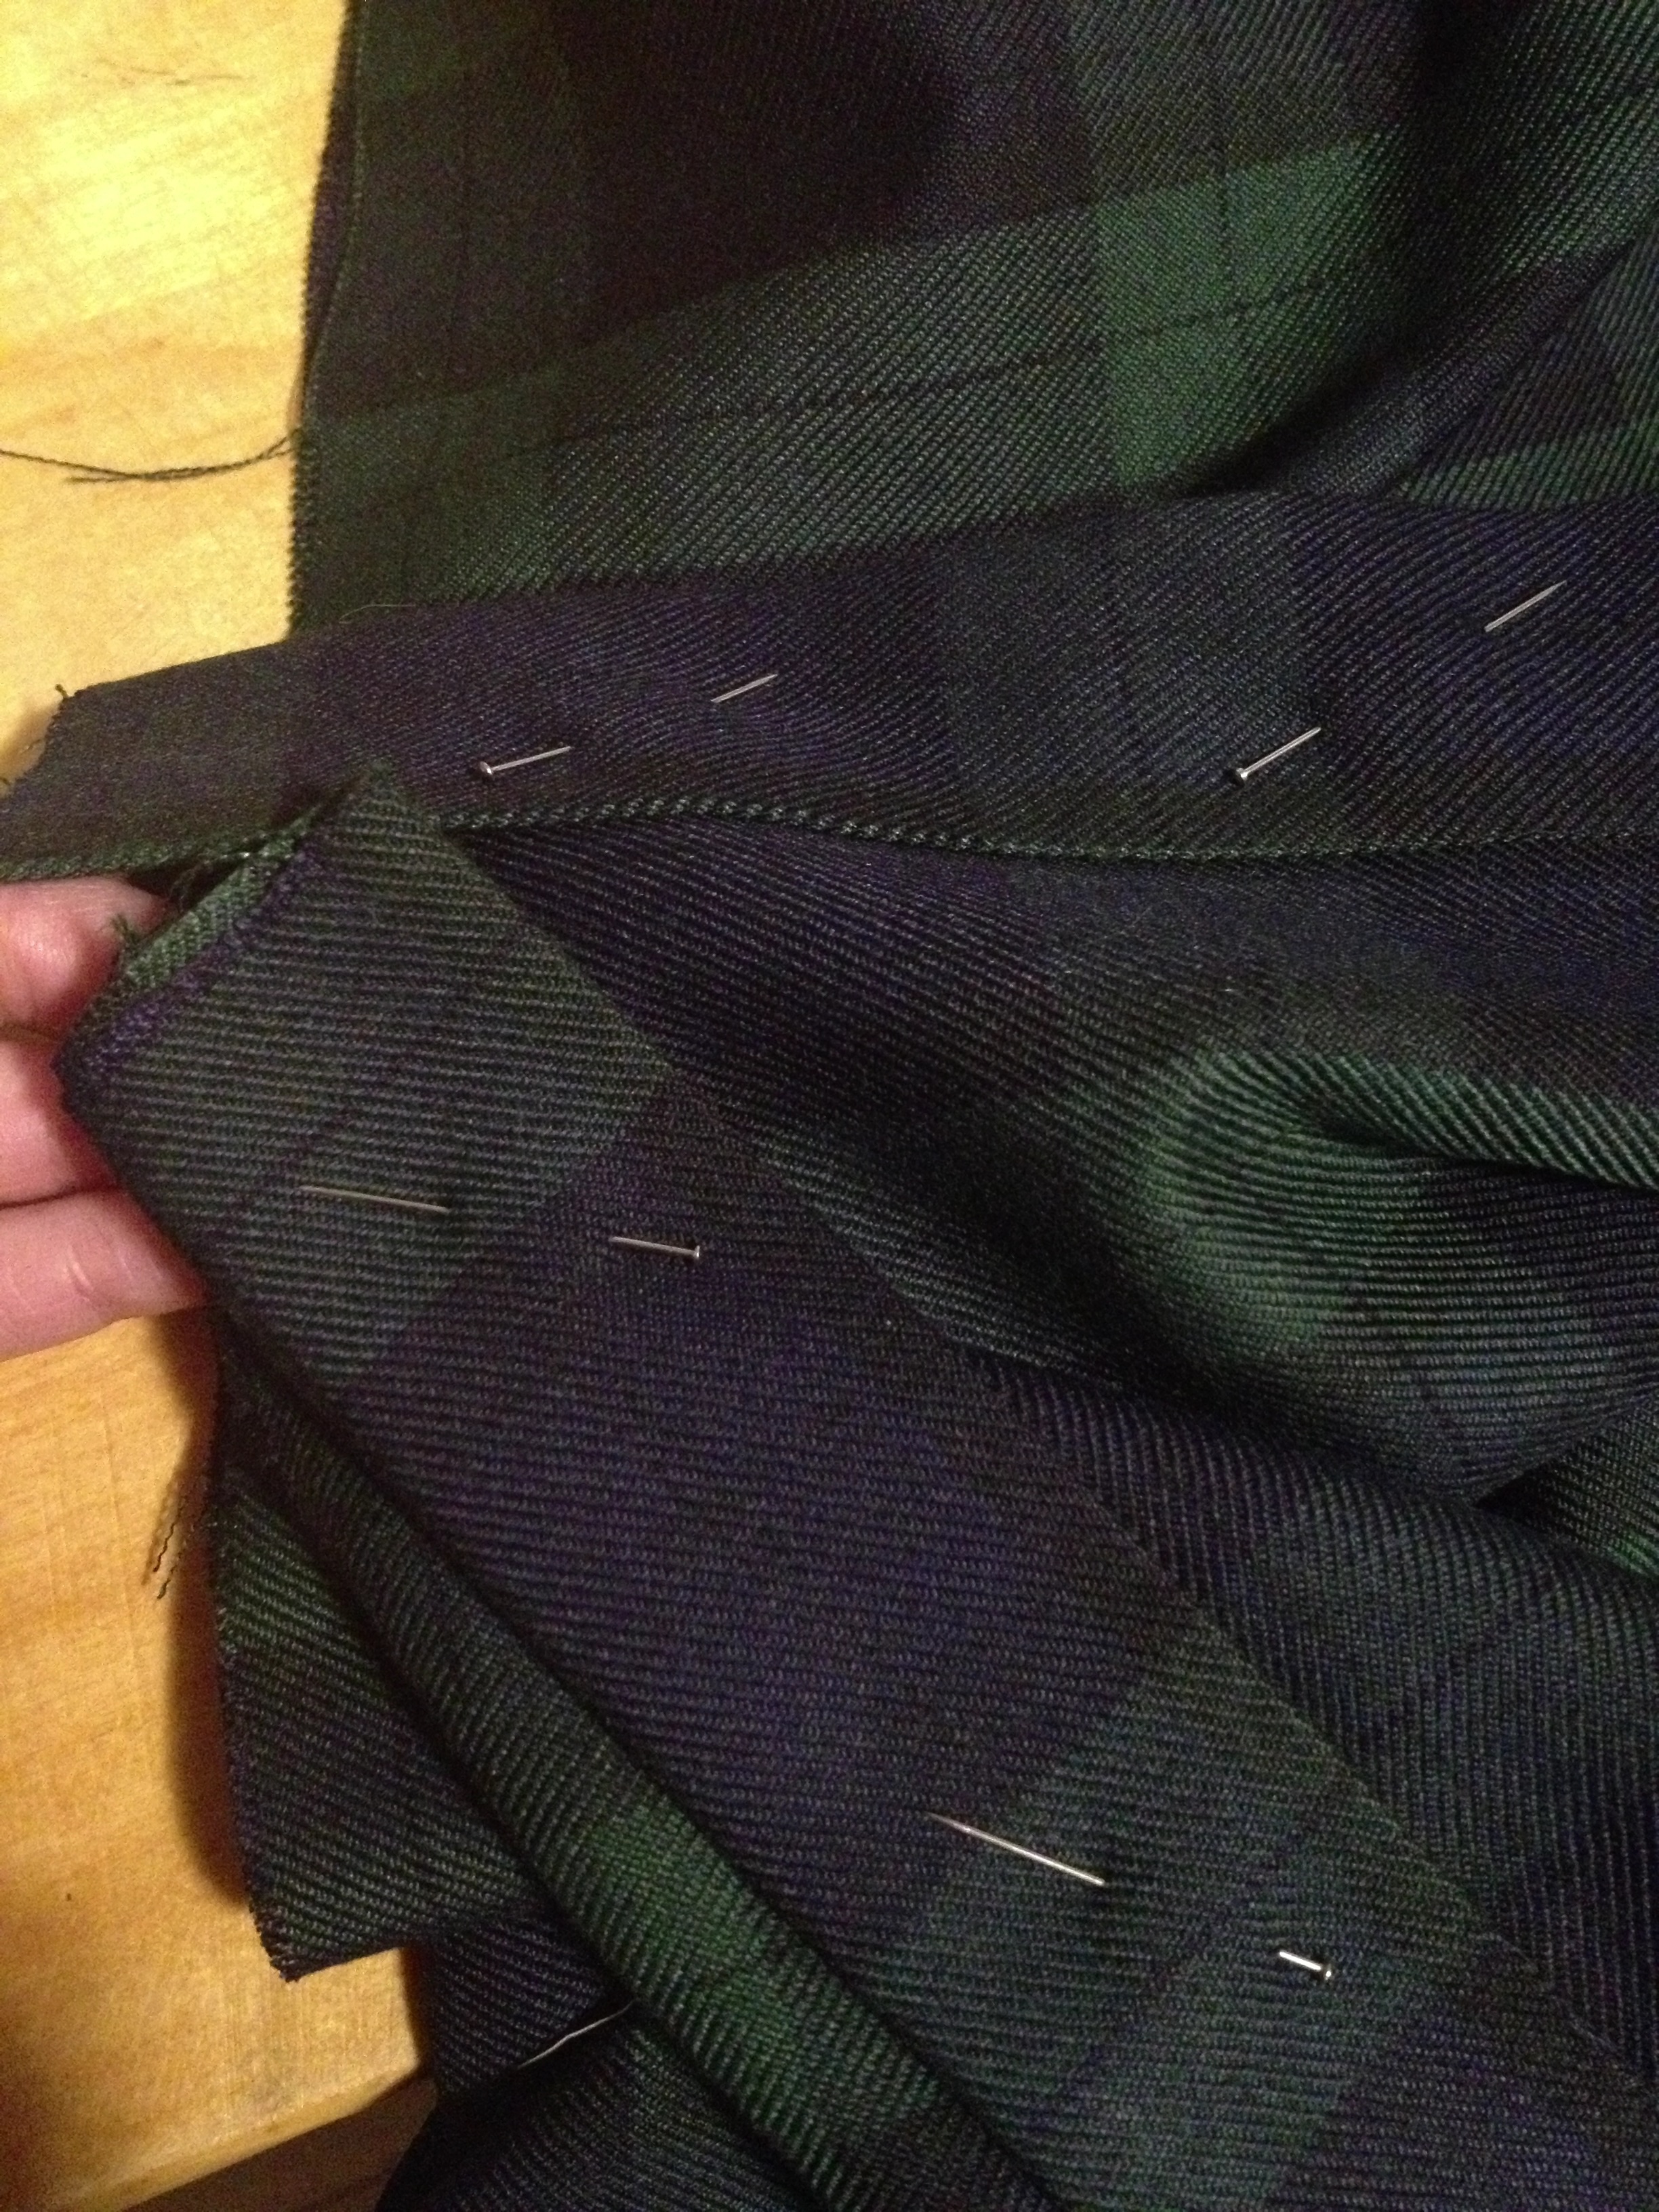
11. Keep pleating and ironing. There is no such thing as excessive ironing and steaming while pleating your fabric. You want those edges crisp.

12. As you pleat, make sure the join in your two panels is inside the pleat. This is the only exception to the even pleating rule as you really don’t want it exposed.

13. When all your pleats for the back of the kilt are done, do a big reverse pleat at the side seam. try to match the depth from your outer apron. Ideally stack two pleats like you did for the front. Steam like crazy, pin and finish your under apron (darts and marking edge).

14. Adjust your pleats slightly to account for the hip to waist difference and start stitching those pleats in place from hip to waist. Top-stitch or a blind “felling” stitch; it’s up to you and the look you want. The pleat joining the apron to the back should blind-stitched for best results. To reduce bulk, only attach each pleat to the pleat below it, not all pleats in line with the edge.
You may find doing two lines of basting across all your pleats at the hip and midway down the kilt helps keep everything neater than pins.

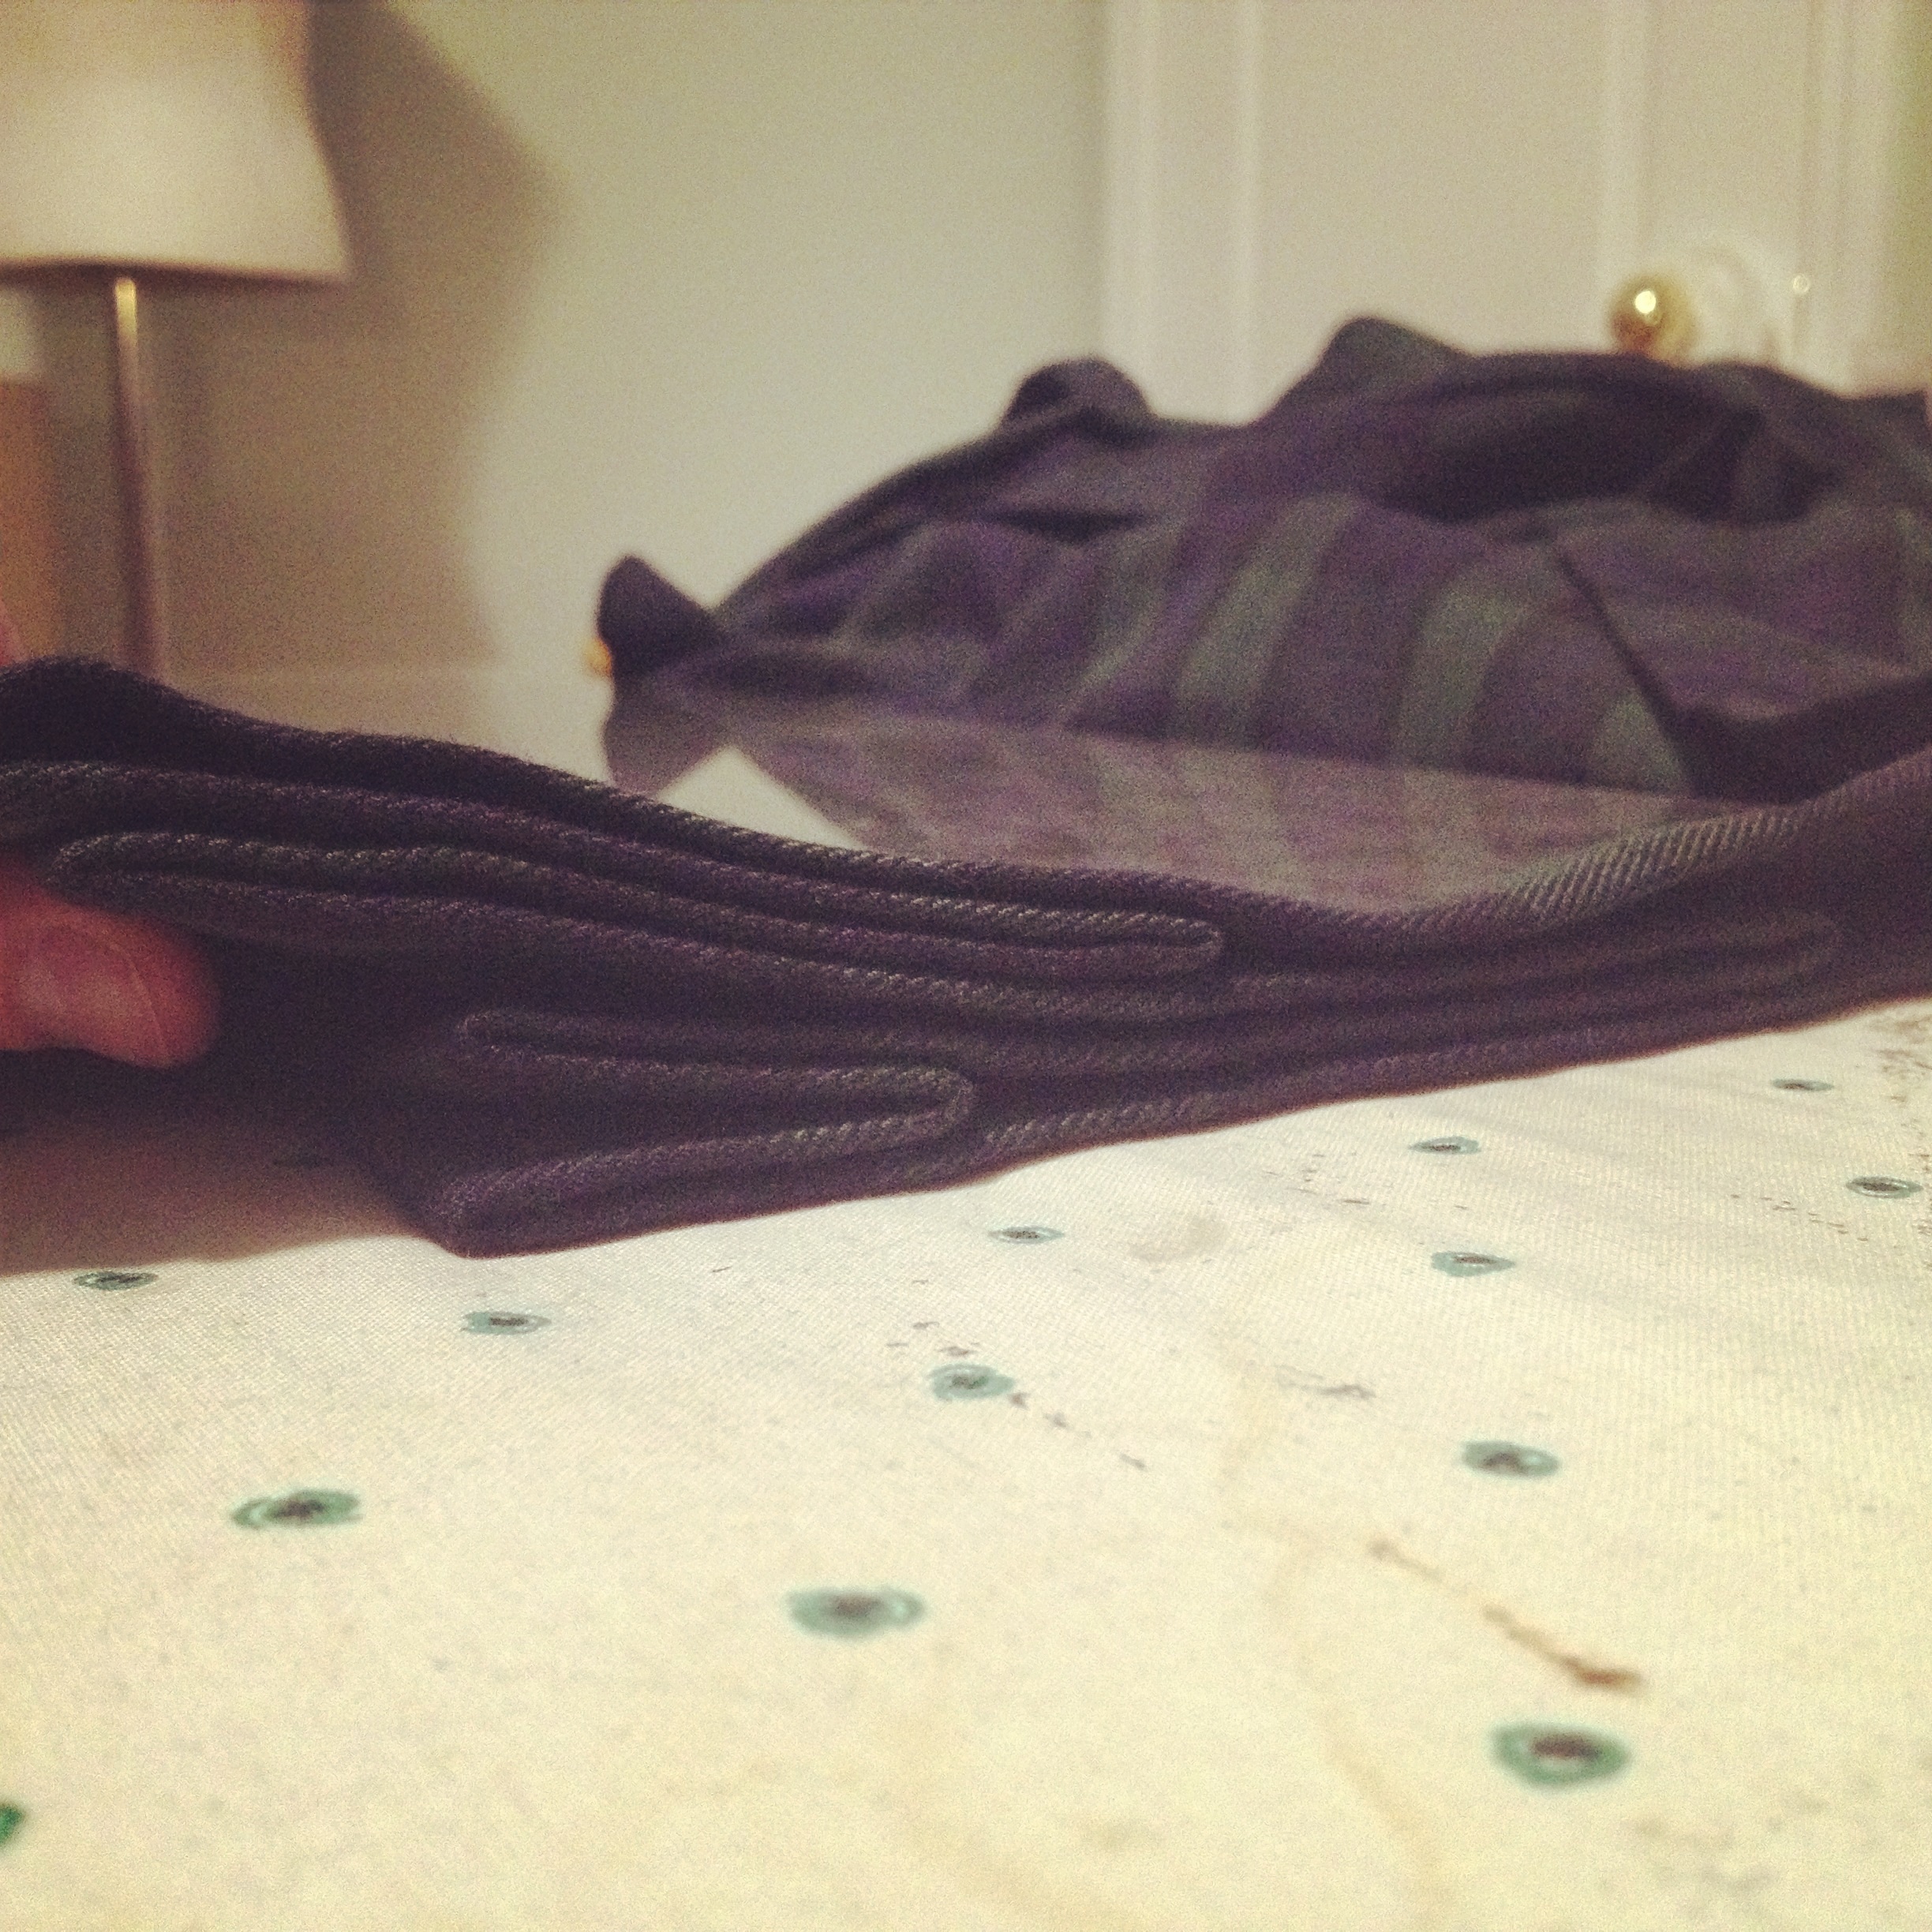
15. Once all your pleats are adjusted and stitched into place (remember to catch only the pleat and the layer below it!), give everything a good press and look at the inside of your pleats. To reduce bulk, clip/serge out excess fabric. Leave about 3/4″ from stitch line and angle it to the inner edge of the pleat about 1″ from the lower edge of the stitch line.

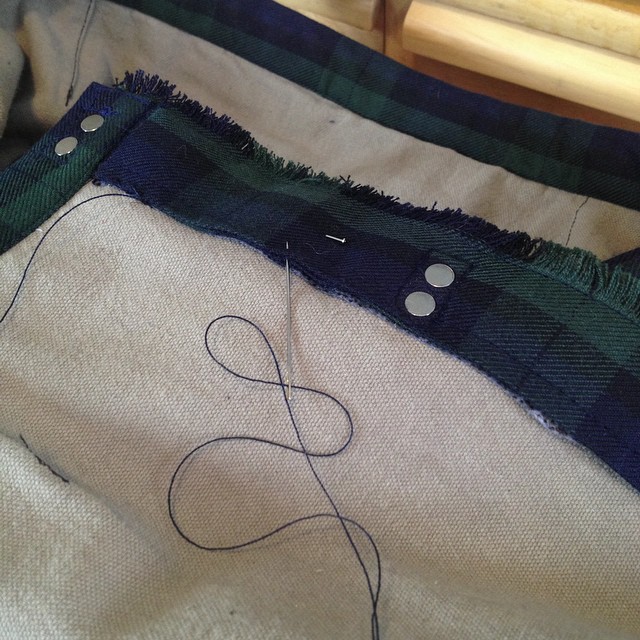
16. With your pleats set, finish off your inner apron with a simple turned hem at the edge catching your lining piece inside. You can baste your lining into place along the top edge.

17. Add your waistband. A 5″ wide strip from your excess material will do. A wider piece may be needed for wider belts. Matching the sett is up to you. Attach as you would the waistband for trousers, sewing your interfaced piece to one side first and then turning it over to secure by top-stitching/stitching in the ditch. Ensure that the top edge of your lining is within the seam. Iron.

18. Once your waistband is secure, add closures. What they are is up to you. If you are using Velcro, attach it before you close up the waistband to hide the stitching. Where ever you need to put buttons, straps or rivets, make sure you interface the back of the fabric for stability.

If you are using straps to close your kilt, you will need to put a small slit in the side seam to allow the strap to pass to the outside neatly. A simple stitched button hole will do.

19. Once your closures are on, stitch down the front edge of your outer apron if you haven’t yet. Make sure the lining is snugly in there (which it should already be from doing your closures).
20. Press everything again, remove any pins/running stitches, and then press again really well being careful not to crimp your pleats the wrong way. Admire your new kilt or run around the house with your claymore (imaginary or not).